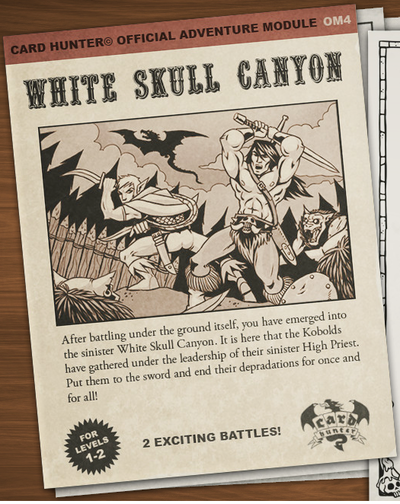
White Skull Canyon
From Card Hunter Wiki
(Difference between revisions)
(Created page with "{{Adventurepage | name={{PAGENAME}} | num_scenarios=2 | level=1 | splash_screen=White Skull Canyon Intro.png | unlocked_by=Raid on Ommlet | unlocks1=Tunnels into Darknes...") |
|||
| Line 4: | Line 4: | ||
| level=1 | | level=1 | ||
| splash_screen=White Skull Canyon Intro.png | | splash_screen=White Skull Canyon Intro.png | ||
| − | | unlocked_by= | + | | unlocked_by=Kobold Encampment |
| − | | unlocks1= | + | | unlocks1=Keep on the Hinterlands |
| − | | | + | | unlocks2=Randimar's Rarities |
| + | | unlocks3=Dungeon of the Lizard Priest | ||
| + | | unlocks4=Ruby Demon Portal | ||
| + | | unlocks5=Highway Robbery | ||
| + | | unlocks6=Caverns of the Troglodytes | ||
| + | | unlocks7=The Wizard's Workshop | ||
| + | | reward1=Blessed Demon Claw | ||
| + | | reward2=Amber Shards | ||
| scenario1= | | scenario1= | ||
{{Scenario | {{Scenario | ||
| Line 24: | Line 31: | ||
{{Scenario | {{Scenario | ||
| number=2 | | number=2 | ||
| − | | title= | + | | title=The Shaman's Hut |
| pre_description=Pursuing the Kobold Priest, you corner him in his stinking hut. Now it i time for the final showdown with these murderous bandits. | | pre_description=Pursuing the Kobold Priest, you corner him in his stinking hut. Now it i time for the final showdown with these murderous bandits. | ||
| post_description=Searching through the much and bodies, you recover what treasure you can. The Kobolds are overthrown and put to flight. The villagers can rest well tonight. You are now a fully fledged adventurer! | | post_description=Searching through the much and bodies, you recover what treasure you can. The Kobolds are overthrown and put to flight. The villagers can rest well tonight. You are now a fully fledged adventurer! | ||
Revision as of 13:21, 12 September 2013
| Number of Scenarios | 2 |
| Guaranteed Reward for Completion | |
| Quests | |
| |
| Unlocked By | |
| Unlocks | |
Part 1 - White Skull Gates
| Win/Loss | |||
|---|---|---|---|
| Victory Stars | Loss Stars | ||
| 4 | 4 | ||
| Enemies | Quantity | ||
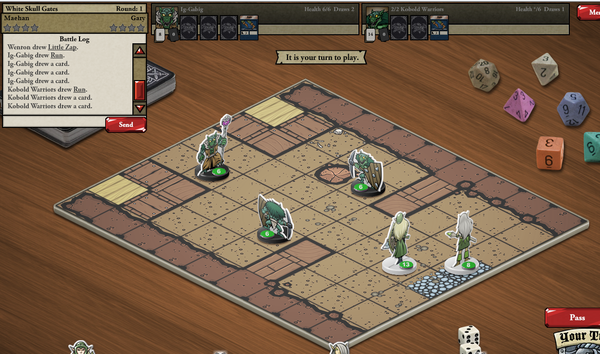
| Ig-Gabig | 1 | ||
| Kobold Warriors | 2 | ||
| Pre-Battle Description | |||
| Returning to White Skull Canyon you follow the winding dry riverbed until you come to a high wooden wall. Suddenly the gates are thrown open. Kobold Warriors rush forward, egged on by their High Priest, Ig-Gabig! | |||
| Post-Battle Description | |||
| Victorious, you search the bodies. While your back is turned, Ig-Gabig's Feign Death enchantment dissipates and the shifty little Kobold priest slips away deeper into the lair. After him! | |||
Part 2 - The Shaman's Hut
| Win/Loss | |||
|---|---|---|---|
| Victory Stars | Loss Stars | ||
| 5 | 4 | ||
| Enemies | Quantity | ||
| Ig-Gabig | 1 | ||
| Kobold Warriors | 3 | ||
| Pre-Battle Description | |||
| Pursuing the Kobold Priest, you corner him in his stinking hut. Now it i time for the final showdown with these murderous bandits. | |||
| Post-Battle Description | |||
| Searching through the much and bodies, you recover what treasure you can. The Kobolds are overthrown and put to flight. The villagers can rest well tonight. You are now a fully fledged adventurer! | |||


