The Wizard's Workshop
From Card Hunter Wiki
(Difference between revisions)
| Line 8: | Line 8: | ||
| quest3 = {{1HpQuest}} | | quest3 = {{1HpQuest}} | ||
| quest4 = {{DrawbackQuest}} | | quest4 = {{DrawbackQuest}} | ||
| − | | | + | | prereq1=TUTSHWAD |
| − | | | + | | comp1=UNLKCHST |
| scenario1= | | scenario1= | ||
{{Scenario | {{Scenario | ||
Revision as of 23:56, 19 April 2014
| Number of Scenarios | 4 |
| Quests | |
| |
| Unlocked By | |
| White Skull Canyon | |
| Unlocks | |
| Chest and Barrel | |
Contents |
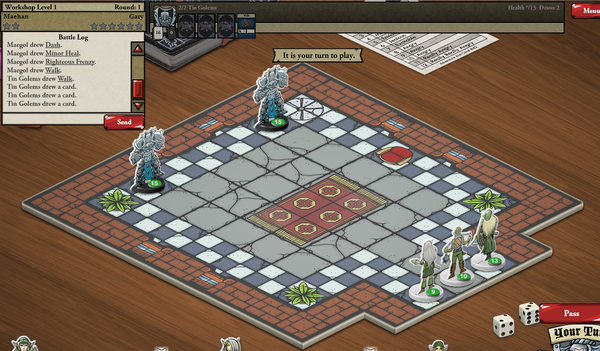
Part 1 - Workshop Level 1
| Win/Loss | ||||
|---|---|---|---|---|
| Victory Stars | Loss Stars | |||
| 2 | 6 | |||
| Enemies | Quantity | |||
| Tin Golems | 2 | |||
| Pre-Battle Description | ||||
| Aloyzo's tower is neat and well-furnished. The wizard is an enthusiastic horticulturalist and he has placed magnificent ficus trees in the corners of this room. As you step inside the tower, two tin golems whir into life and lurch towards you with murderous intent! | ||||
| Post-Battle Description | ||||
| The once elegant room is now ruined. The golems have been reduced to piles of scrap metal amongst the debris of fine decor. You leave the piles of scrap metal for Aloyzo to clean up, and climb to the second tower level. | ||||
| Hints | ||||
| ||||
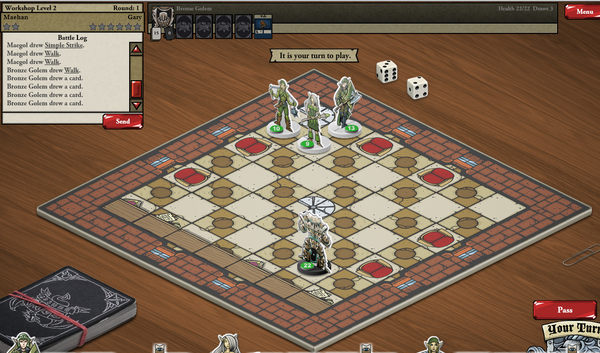
Part 2 - Workshop Level 2
| Win/Loss | |||
|---|---|---|---|
| Victory Stars | Loss Stars | ||
| 2 | 6 | ||
| Enemies | Quantity | ||
| Bronze Golem | 1 | ||
| Pre-Battle Description | |||
| This level of the wizard's tower houses the old man's library. There is a single golem here, but this time constructed from gleaming bronze! Furthermore it is considerably larger and more threatening than those in the previous room. It doesn't look pleased to see you. | |||
| Post-Battle Description | |||
| With the huge Golem shattered, you are able to search the library - it contains a variety of arcane construction manuals and a few recipe books. As you peruse the books, you are distracted by a loud persistent buzzing sound emanating from the room above... More infernal machines?!? What mechanical monstrosities await? | |||
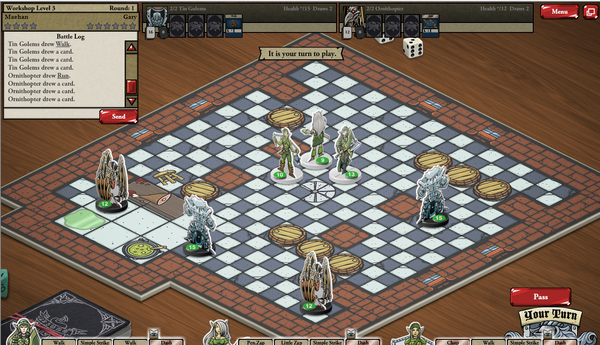
Part 3 - Workshop Level 3
| Win/Loss | |||
|---|---|---|---|
| Victory Stars | Loss Stars | ||
| 4 | 6 | ||
| Enemies | Quantity | ||
| Tin Golems | 2 | ||
| Ornithopter | 2 | ||
| Pre-Battle Description | |||
| The third floor of Aloyzo's tower is a kitchen. Two more Tin Golems defend this area. They are accompanied by a pair of Ornithopters. You shudder at the madness of it. Living machines! What was Aloyzo doing? | |||
| Post-Battle Description | |||
| The fight destroys the kitchen and much of its contents. You that all this is worth it to the errant wizard. You can now climb to the last level of the tower and secure it from it's artificially animated assailants. | |||
Part 4 - Workshop Apex
| Win/Loss | |||
|---|---|---|---|
| Victory Stars | Loss Stars | ||
| 4 | 6 | ||
| Enemies | Quantity | ||
| Bronze Golem | 1 | ||
| Ornithopter | 2 | ||
| Pre-Battle Description | |||
| At the tower's apex is Aloyzo's master laboratory. The walls are lined with shelves of herbs, unguents and potions. This room is guarded by two Ornithopters and a further Bronze Golem. These mechanical monstrosities represent a threat to magic, living creatures and the Cardhuntrian way of life. They must be smashed to pieces! | |||
| Post-Battle Description | |||
| The final battle destroys the laboratory completely. Both Aloyzo the wizard and local authorities are grateful for the player's successful efforts. With a sigh, Aloyzo swears a solemn oath never to dabble in the dark arts of technology again. He rewards you with what he can salvage from his ruined lab and pledges to assist you in your further adventures whenever he can. | |||


