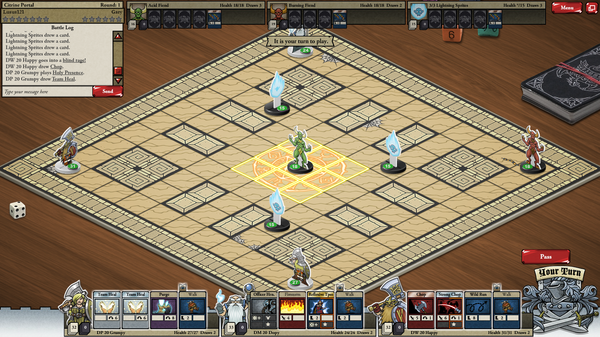
Citrine Demon Portal
From Card Hunter Wiki
(Difference between revisions)
| Line 4: | Line 4: | ||
| level=14 | | level=14 | ||
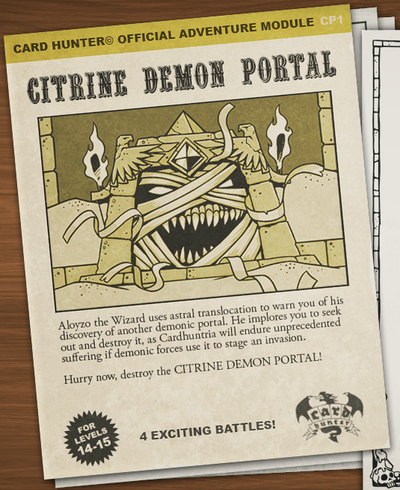
| splash_screen= Citrine Demon Portal Intro.png | | splash_screen= Citrine Demon Portal Intro.png | ||
| − | | | + | | prereq1=ADVLVL14 |
| − | | | + | | comp1=ADVLVL15 |
| − | | | + | | comp2=ADVLVL16 |
| − | + | ||
| quest1 = {{NoDeathsQuest}} | | quest1 = {{NoDeathsQuest}} | ||
| quest2 = {{LvltoNumQuest|6}} | | quest2 = {{LvltoNumQuest|6}} | ||
Revision as of 01:06, 20 April 2014
| Number of Scenarios | 4 |
| Quests | |
| |
| Unlocked By | |
| Shrine of the Astral Guardians, The Jewel of Alet Zhav, The Tomb of Tvericus | |
| Unlocks | |
| Riddle of the Gnome Lords Attack of the War Monkeys, Cliffs of the Wyverns, Into the Black Forest | |
Contents |
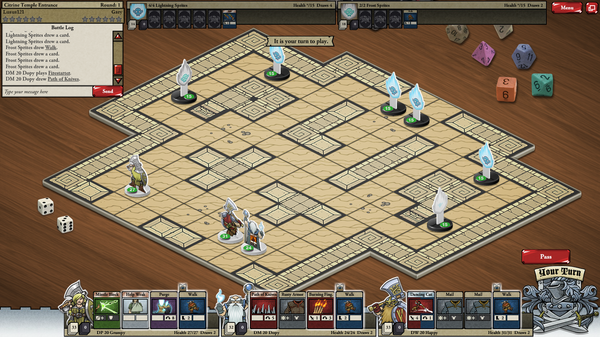
Part 1 - Citrine Temple Entrance
| Win/Loss | |||
|---|---|---|---|
| Victory Stars | Loss Stars | ||
| 6 | 6 | ||
| Enemies | Quantity | ||
| Lightning Sprites | 4 | ||
| Frost Sprites | 2 | ||
| Pre-Battle Description | |||
| Once again, you set out to put an end to this infernal threat. You follow Aloyzo’s directions to a dilapidated temple in the Northlands. The area is barren and wasted and the temple entrance shows signs of having been recently disturbed. As you enter, cold flickering lights illuminate the interior… | |||
| Post-Battle Description | |||
| The light dies with the last of the sprites. The exit is secured with a huge, simple stone cube which takes you several hours to move. Underneath it you also discover a compartment with a few small treasures inside. After a short rest and some rations, you move on into the temple. | |||
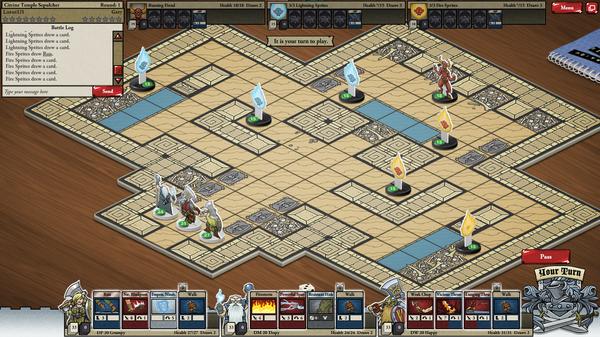
Part 2 - Citrine Temple Sepulcher
| Win/Loss | |||
|---|---|---|---|
| Victory Stars | Loss Stars | ||
| 8 | 6 | ||
| Enemies | Quantity | ||
| Burning Fiend | 1 | ||
| Lightning Sprites | 3 | ||
| Fire Sprites | 3 | ||
| Pre-Battle Description | |||
| The Citrine Temple Sepulcher is, as the name suggests, a place of burial. Piles of bones lie scattered among the tombstones, some of which show the signs of recent despoliation. | |||
| Post-Battle Description | |||
| The light dies with the last of the sprites. The exit is secured with a huge, simple stone cube which takes you several hours to move. Underneath it you also discover a compartment with a few small treasures inside. After a short rest and some rations, you move on into the temple. | |||
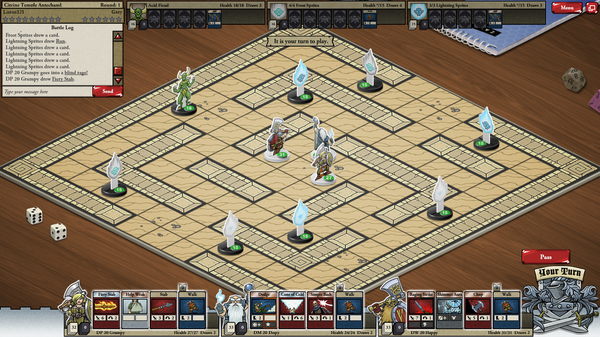
Part 3 - Citrine Temple Antechamber
| Win/Loss | |||
|---|---|---|---|
| Victory Stars | Loss Stars | ||
| 9 | 6 | ||
| Enemies | Quantity | ||
| Acid Fiend | 1 | ||
| Frost Sprites | 4 | ||
| Lightning Sprites | 3 | ||
| Pre-Battle Description | |||
| You move deeper into the temple. You soon encounter another band of demons, this time led by a tall green Acid Fiend. Every inch of this foul creature drips with corrosive excretions, glistening in the light cast by his Sprites. | |||
| Post-Battle Description | |||
| You breathe a sigh of relief. You take time to build a fire and warm yourselves after the chilling, electrifying, acidic ordeal. Once you are at full hit points, you steadfastly move on. | |||
Part 4 - Citrine Portal
| Win/Loss | |||
|---|---|---|---|
| Victory Stars | Loss Stars | ||
| 7 | 6 | ||
| Enemies | Quantity | ||
| Acid Fiend | 1 | ||
| Burning Fiend | 1 | ||
| Lightning Sprites | 3 | ||
| Pre-Battle Description | |||
| At last, battle-weary and dust-covered, you have reached the Citrine Demon Portal. Ghastly yellow light bathes the room as a large Fire Demon materializes before you, cackling with diabolic delight at escaping from the Abysm to your world. With grim determination, you prepare to send him back. | |||
| Post-Battle Description | |||
| You may now seal the Citrine Portal. Though triumphant, you are disturbed by the appearance of these demon portals. Who are and what are causing them? | |||
